
Why You MUST Cut Your Flowers.
I hear it so frequently from customers visiting our farm: “I don’t want to cut the flowers, I’ll just leave them for the next person to enjoy,” …
Well, do I have good news for you:
When you cut the flowers, you guarantee the freshest flowers for yourself AND the next person!
How is this possible? Well, flowers (and all plants) have a life cycle, which means they have specific steps to make sure their species survives into the following year. From a seed, the plant grows, and it’s goal is to 1. flower, 2. let that flower die, and 3. produce a seed for the next year.
If you leave the flower on there to fade, you are telling the flower:
“it’s time to die, see you next year!”
That’s why it’s so very necessary to cut your flowers. YES: The flowers growing in your garden, or my garden, or anyone's garden: MUST BE CUT if you want the flowers to keep on flowerin’.
(unless they are single stem varieties, in which case, you can cut and enjoy indoors or just enjoy it outdoors while it lasts!)
(*Please note: you should always ask before cutting flowers from someone else’s property!)

Do yourself and your garden a favor: Cut the flowers!!
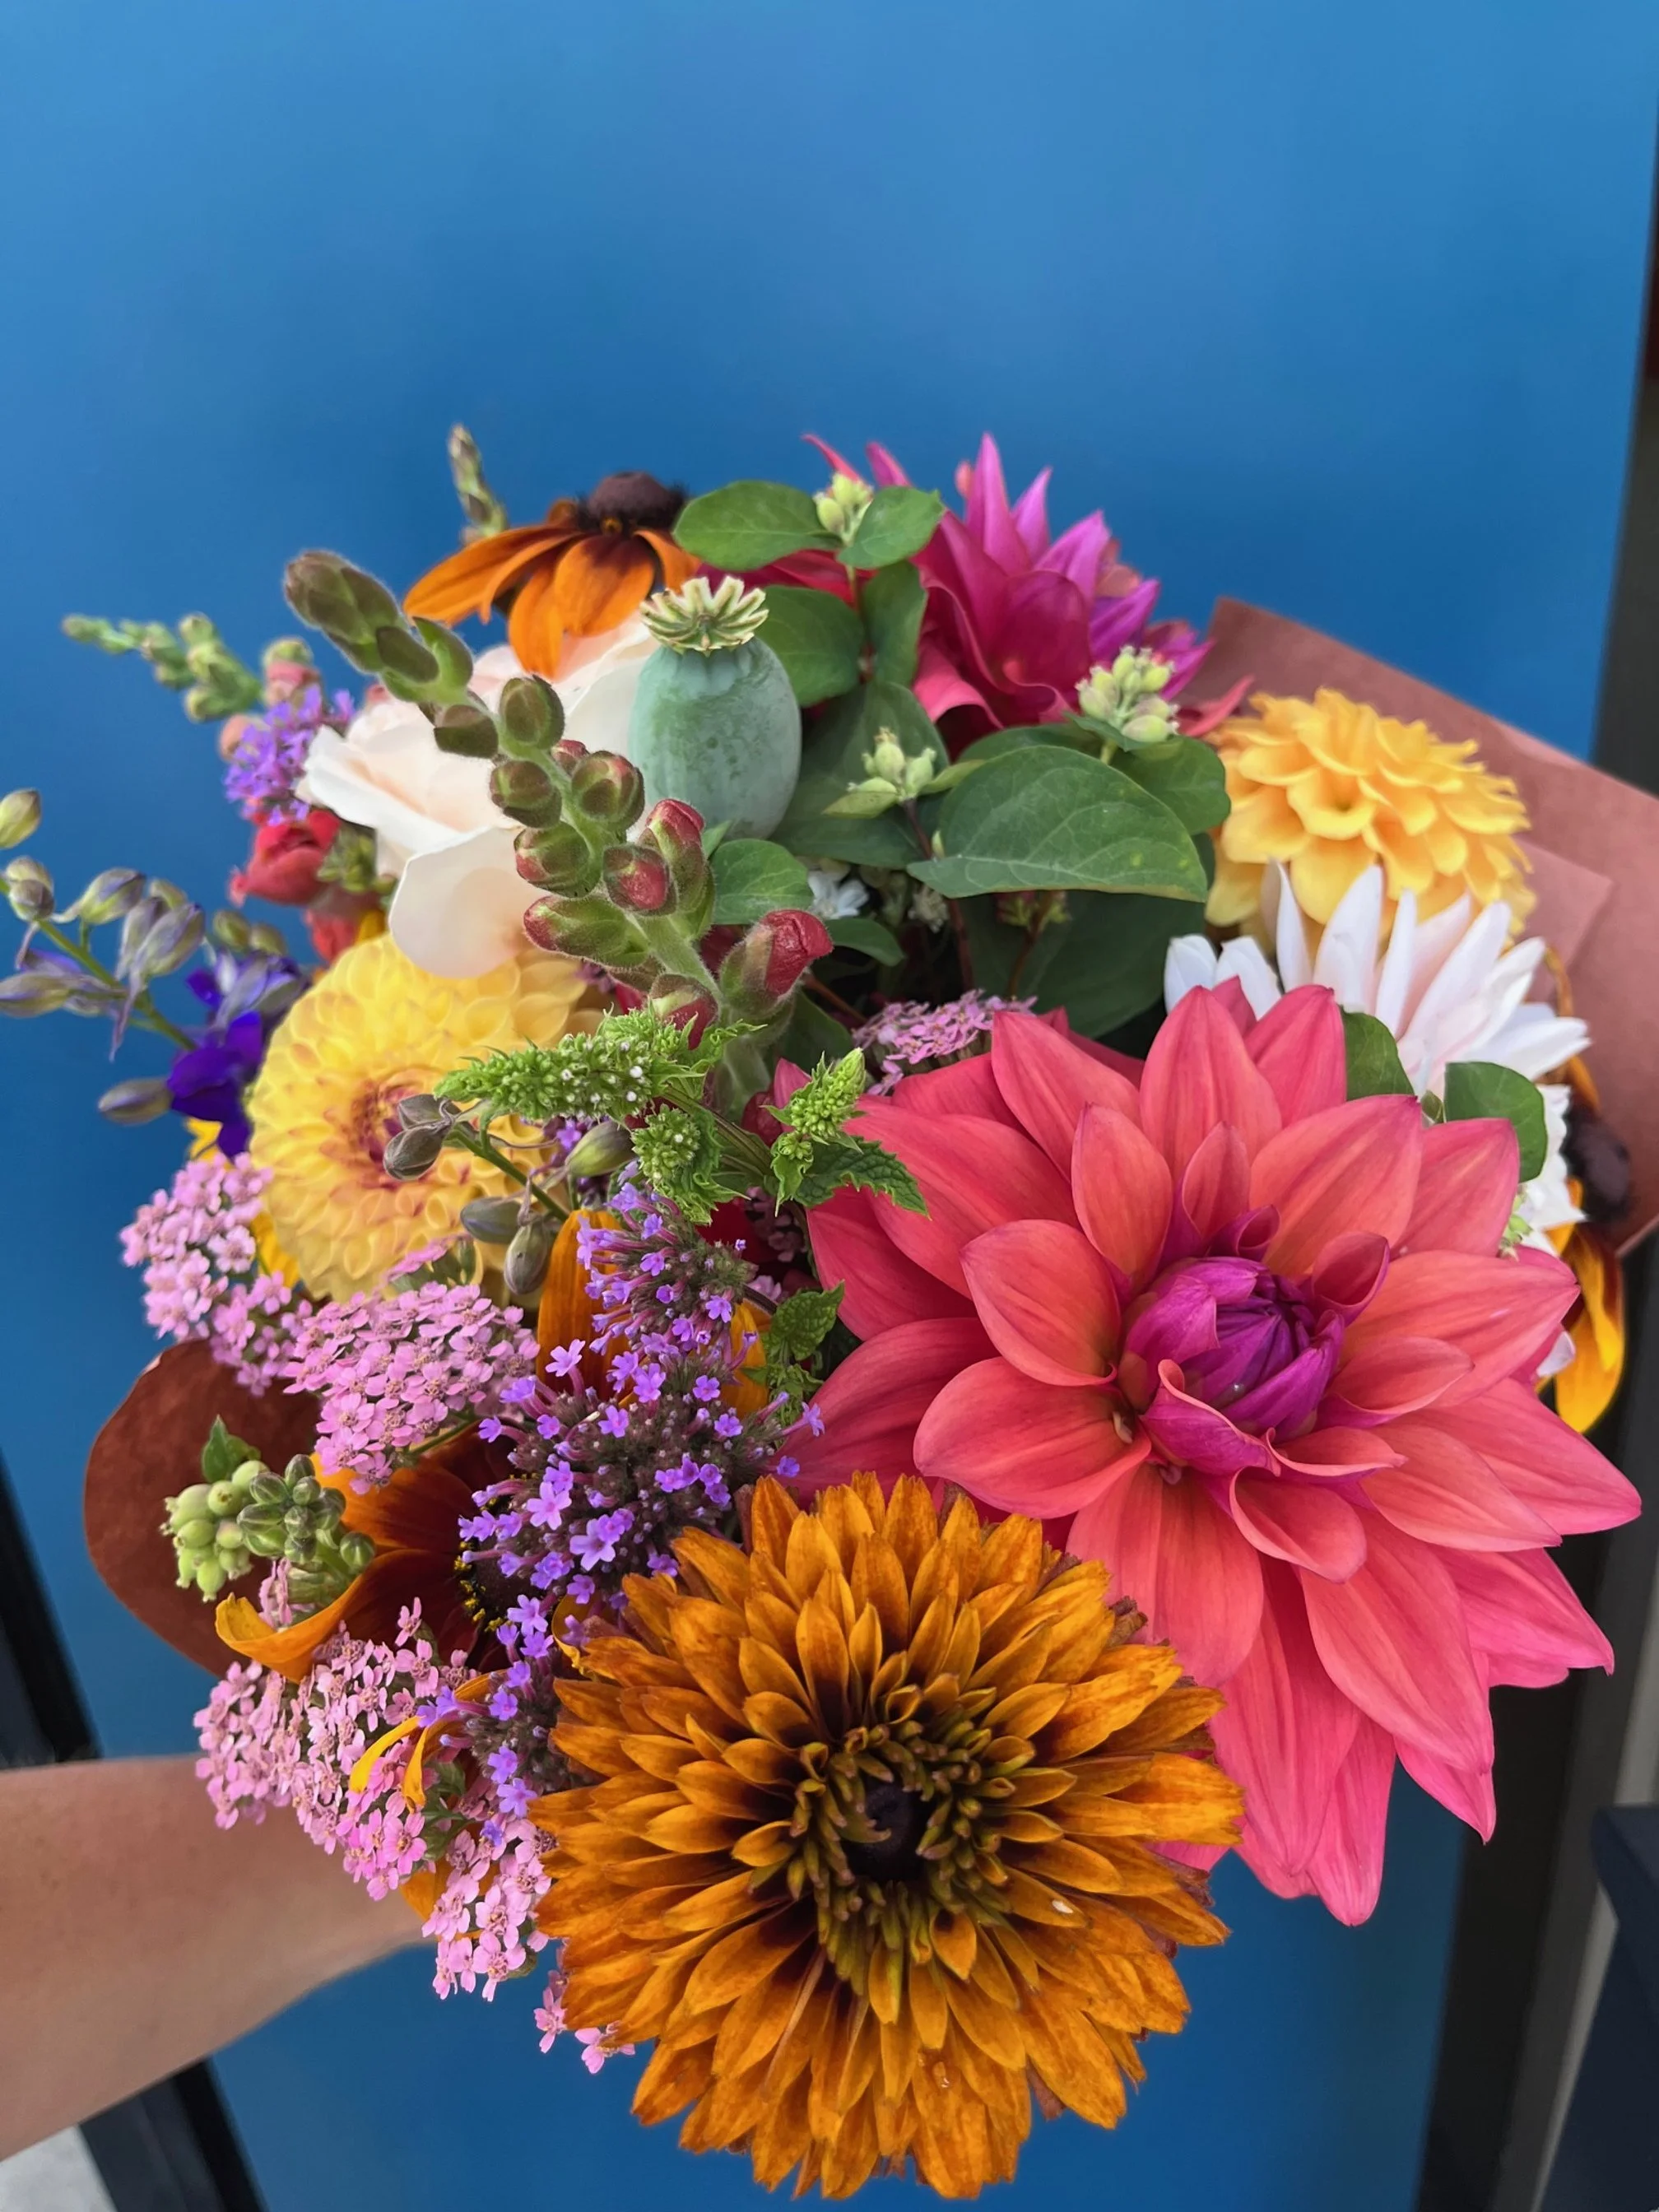
It’s my goal to make sure you’re able to enjoy your fresh flowers for as long as possible. Whether you've received a bouquet as a gift, just picked them from your garden, or just cut them from our U Pick, knowing how to harvest and care for cut flowers ensures they stay fresh and vibrant longer. Let's delve into the art of harvesting and the essential maintenance care to prolong the life of your floral arrangements.
Harvesting Flowers:
Harvesting flowers is more than just cutting stems: the timing and process can absolutely affect how long your blooms will last! Flowers should ideally be harvested early in the morning (Bonus: you won’t miss out on the U Pick flowers if you get there early!) or late in the evening when temperatures are cooler. This helps prevent wilting by making sure the flowers haven’t lost all of their moisture to the hot sun.
It’s best to water your flowers early (like before the sun comes up) so they are plenty hydrated by the time you roll outta bed to cut them! (hint: set a timer on your hose so it’s automatic!)
When selecting flowers for cutting, the general rule of thumb is to look for ones that are just beginning to open. However: Dahlias don’t continue to open much after harvesting, so you’ll want to find them when they are 3/4 open or more. Flowers that are completely open, and have some petals fading or turning brown on edges will not last as long.
Use sharp, clean shears to make a clean cut at a 45-degree angle just above a leaf node. This angle increases the surface area for water absorption and prevents the stem from sitting flat on the bottom of the vase, which can hinder water uptake.
I’m a big fan of Corona snips, whether it’s these slender snips or these larger, tougher pruners.
After Harvest: Prepare for the Vase:
Once harvested, remove any foliage that will be submerged in water, as this can promote bacterial growth and shorten the life of the flowers. I usually just strip the leaves by pulling downward (did someone say strip?) Place the stems immediately into a bucket of water and let them hydrate for a few hours in a cool, dark place. Ideally: You’ll let those stems soak up water for 12-24 hours before arranging them!
If you received a wrapped bouquet, the first step is to unwrap it!!
Maintenance Care:
With proper care, you can enjoy your cut flowers for a very long time! Depending on the variety, you may get over 10 days out of your fresh cut blooms (Some flowers are made for the vase, such as ranunculus with a 10+ day vase-life, while poppies fade within a few days) :
1. Water Check: Always use a clean vase that has been thoroughly washed (the rule of thumb is: it should be clean enough to drink out of!) Fill the vase with fresh water. Check the water level in the vase daily to make sure the flowers haven’t soaked it all up! Every couple of days, empty the water completely and fill with fresh water. This will stop bacteria from entering the stems. If desired, you can use a flower food powder to provide nutrients to your stems.
I use this flower food if I’m not able to change out the water frequently, such as with table arrangements that need to stay looking exactly how they look.
For flowers that will be out of water, such as a handheld bouquet, I will use Quick Dip prior to arranging.
2. Trimming Stems: Every few days, trim the stems by about an inch at a 45-degree angle. This allows the stems to absorb more water and keep the bloom looking it’s best for longer!
3. Location Matters: Keep your flowers away from direct sunlight! Choose a cool spot in your home, away from heating vents or appliances that emit heat.
4. Remove Wilting Flowers: As flowers naturally age, remove any wilted or spent blooms promptly. This not only keeps your arrangement looking fresh but also prevents ethylene gas produced by dying flowers from hastening the aging of others.
5. Refresh the Water: Every 2-3 days, change the water completely, rinse the vase, and if you’d like, you can add fresh floral preservative.
Whether you use preservative or not: The biggest difference will be the fresh water.

Keep flowers cool and out of sunlight!
**Don’t store them next to fruits, because the ethylene gas causes them to fade quickly!
Special Tricks I’ve learned along the way:
Some flowers and greens will wilt almost instantly. And sometimes I decide it’s no good for the vase, but usually I will try this trick:
With a handheld lighter, burn the fresh cut end for about 30 seconds, then place directly in fresh water. It’s worked beautifully for many different stems! Give it a try!
Caring for fresh cut flowers is fairly simple, but taking the time to do the extra steps makes a world of difference. And your plants will thank you by providing more glorious blooms to fill your vases with next time!
Don’t be scared: Cut those flowers!!
*Links in this blog may be affiliate links and I may earn a small commission from qualifying purchases